A Beginner’s Guide to Building a Curly Hair Routine That Actually Works
If you grew up fighting your curls with a paddle brush and a flat iron, you are far from alone. Most of us were handed hair care rules written for straight hair, then spent years wondering why our curls answered with frizz, tangles, and the occasional triangle silhouette.
Here is the liberating truth. Curly hair is not difficult hair. It is simply hair with different needs, and the moment you start meeting those needs, it rewards you with definition, softness, and bounce you may never have seen before.
The internet makes curl care look like a chemistry degree, with twelve-step routines and a product for every hour of the day. It does not have to be that way. This guide builds you a genuinely simple curly hair routine from scratch, explains why each step matters, and warns you about the mistakes that trip up nearly every beginner.
Why Curly Hair Needs Its Own Routine
Everything about curl care makes sense once you understand one piece of biology.
Your scalp produces natural oils that are meant to travel down each strand, keeping it soft and protected. On straight hair, gravity handles the delivery. On curly hair, those oils have to navigate every twist and turn of the spiral, and they rarely make it far. That is why curls run dry by default, why the ends suffer first, and why moisture sits at the heart of every good curly hair routine.
The bends themselves are also weak points. Each curve in the strand is a little more fragile than a straight section would be, which is why rough brushing and towel scrubbing cause so much visible damage on curly heads.
And frizz, the thing most beginners declare war on, is usually just a thirsty or disturbed curl. Feed it moisture, handle it gently, and stop touching it while it dries, and most frizz quietly resigns. Every step in this guide flows from those three facts.

Know Your Curl Type (and Why It Matters Less Than You Think)
Curl typing charts are everywhere, so here is the quick version. Type 2 hair is wavy, forming loose to defined S shapes. Type 3 is curly, with springy loops and corkscrews. Type 4 is coily, with tight coils and zigzag patterns. The letters A through C within each number simply describe how tight the pattern runs.
It is useful vocabulary, and worth knowing roughly where you sit. But here is what the charts do not tell you. Most heads carry two or three patterns at once, curl type shifts with health and length, and two people with identical types can need completely different products.
What matters more is porosity, meaning how easily your hair absorbs and loses moisture. Low porosity hair has a tightly closed surface, so products tend to sit on top and lightweight formulas work best. High porosity hair drinks products instantly and loses moisture just as fast, so richer creams and sealing layers genuinely earn their keep. A rough clue comes from dropping a clean shed strand into a glass of water. Floating for a long while suggests low porosity, sinking quickly suggests high. It is not a laboratory test, but as a starting point it beats guessing.
Density rounds out the picture, meaning how much hair you have overall. Fine, low-density curls prefer lighter layers of product, while thick, high-density heads can happily carry richer creams without collapsing.
Learn your pattern loosely, learn your porosity roughly, and let your actual results refine both over time. Your mirror will always outrank the chart.

The Wash Day Routine, Step by Step
Wash day is the foundation of everything, and done right it sets your curls up for several good days in a row. Here is the full sequence, in order, with the reasoning behind each step.
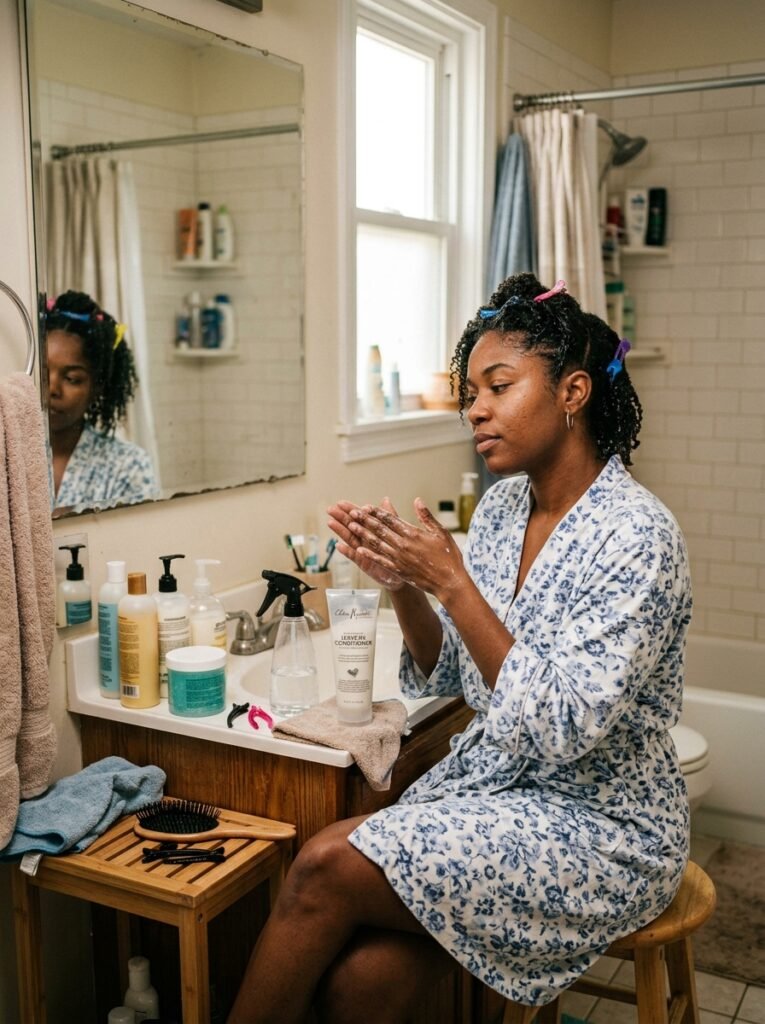
Cleanse Gently
Start with a gentle, sulfate-free shampoo and focus it entirely on your scalp, massaging with fingertips rather than nails. The lather that rinses down through your lengths is plenty of cleansing for them. Curls need a clean, healthy scalp just as much as any other hair type, so resist any advice to abandon shampoo completely. If your hair runs very dry, you can alternate with a co-wash, which is a cleansing conditioner, on some wash days. Most beginners land at one to three cleanses per week, letting scalp comfort, not the calendar, make the final call.
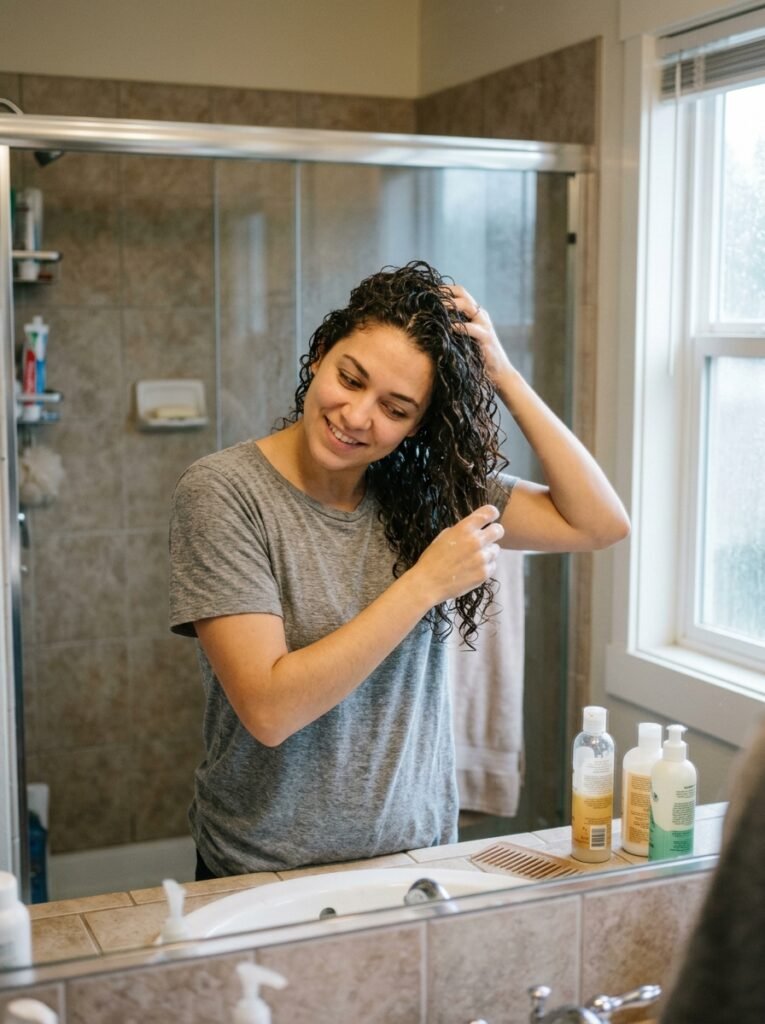
Condition and Detangle
Conditioner is where curly hair care truly begins, so be generous. Apply it from the ears down, then detangle while the hair is slippery, starting at the ends and working upward with fingers or a wide-tooth comb. This is the only time detangling should happen, never on dry curls. Before rinsing, try the technique curl lovers swear by. Cup handfuls of water and conditioner in your palms and scrunch them upward into your hair until you hear a squelching sound. That squish pushes moisture deep into the curl and encourages the pattern to clump and spring.
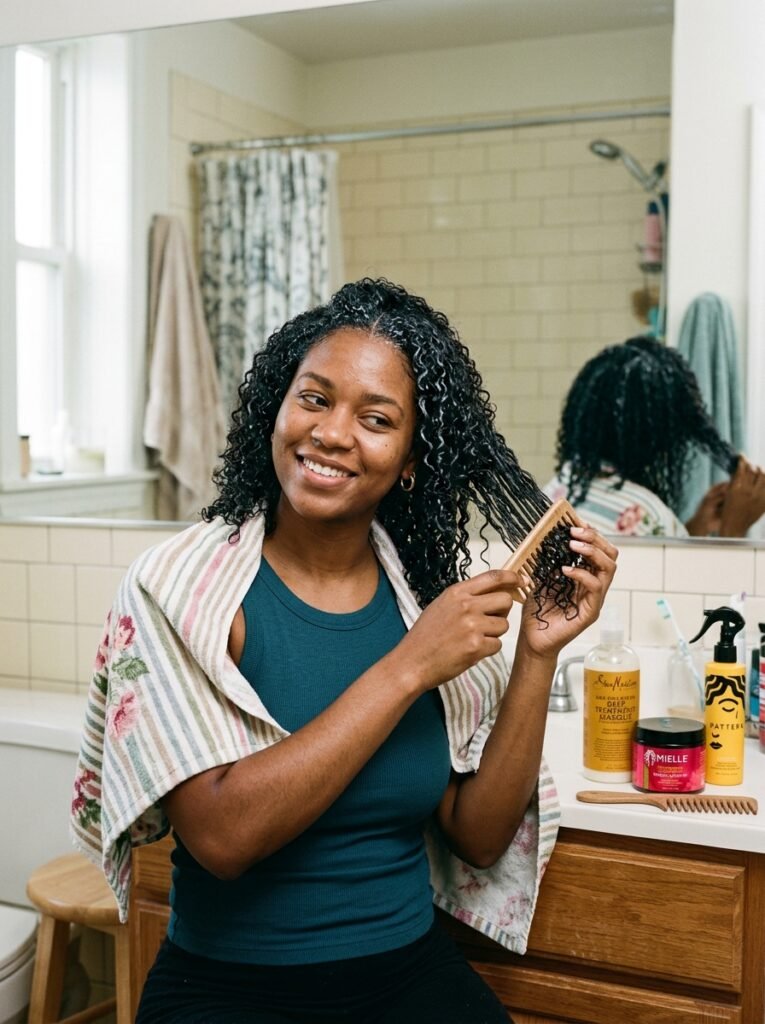
Apply Products to Soaking Wet Hair
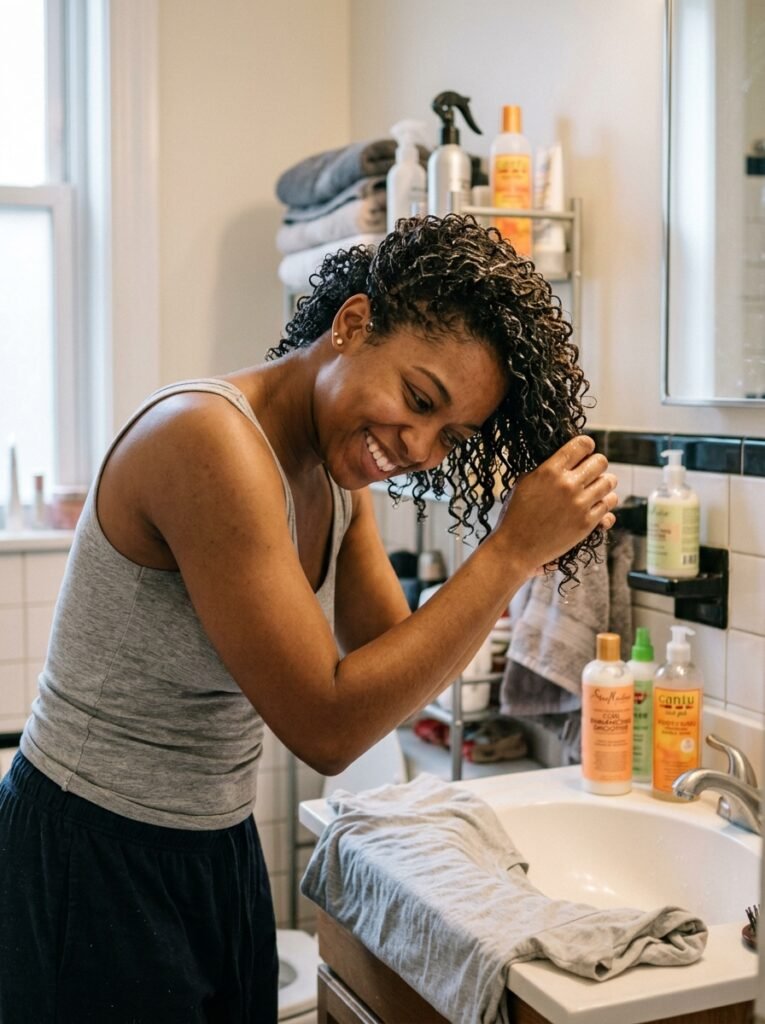
Here is the step that separates defined curls from frizzy ones. Style your hair while it is soaking wet, not towel-dried, because water is what allows product to spread evenly and curls to clump together. Keep it simple at first. Smooth in a leave-in conditioner or curl cream for moisture, then layer a gel over the top for hold. Apply with praying hands, gliding the product down between flat palms, then scrunch upward to encourage the curl. The crunchy feeling the gel creates as it dries is temporary and completely intentional, so do not panic when it appears.
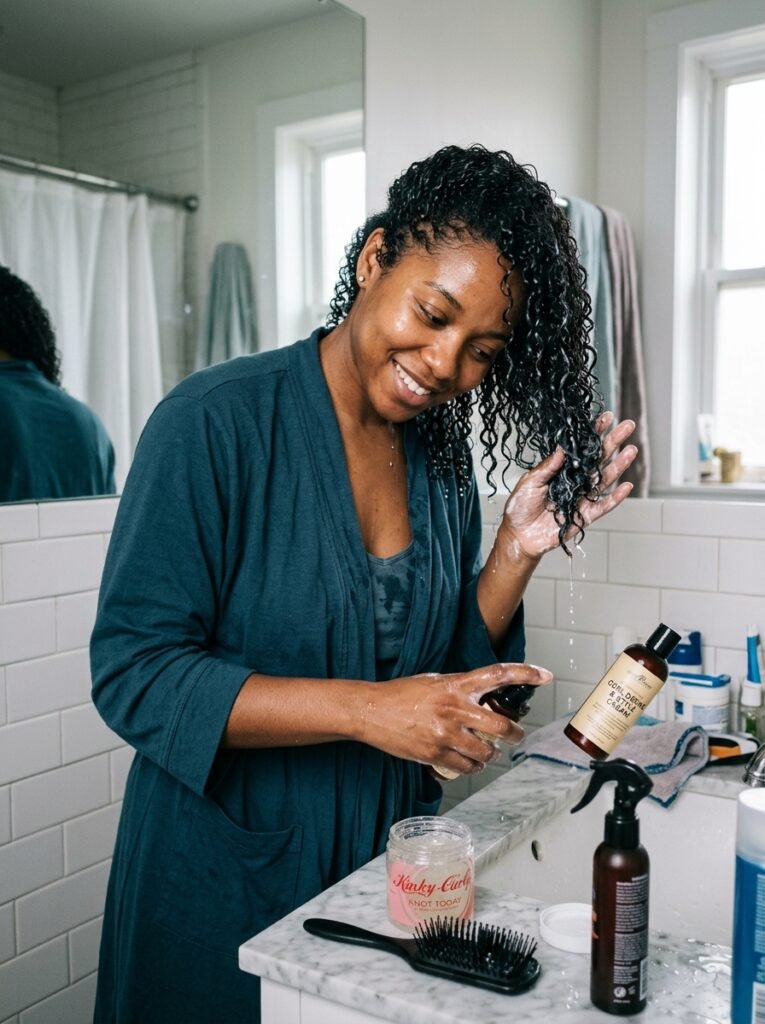
Scrunch and Plop
Once your products are in, remove the excess water without wrecking your work. Scrunch gently upward with a soft cotton t-shirt or a microfiber towel, never a regular terry towel, which roughs up the cuticle and manufactures frizz. If you want extra definition and a shorter drying time, try plopping. Lay the t-shirt flat, tip your curls into the center, and wrap the fabric around your head like a turban for ten to twenty minutes. It sounds ridiculous the first time. It works beautifully every time.
Dry Without Destroying Your Curls
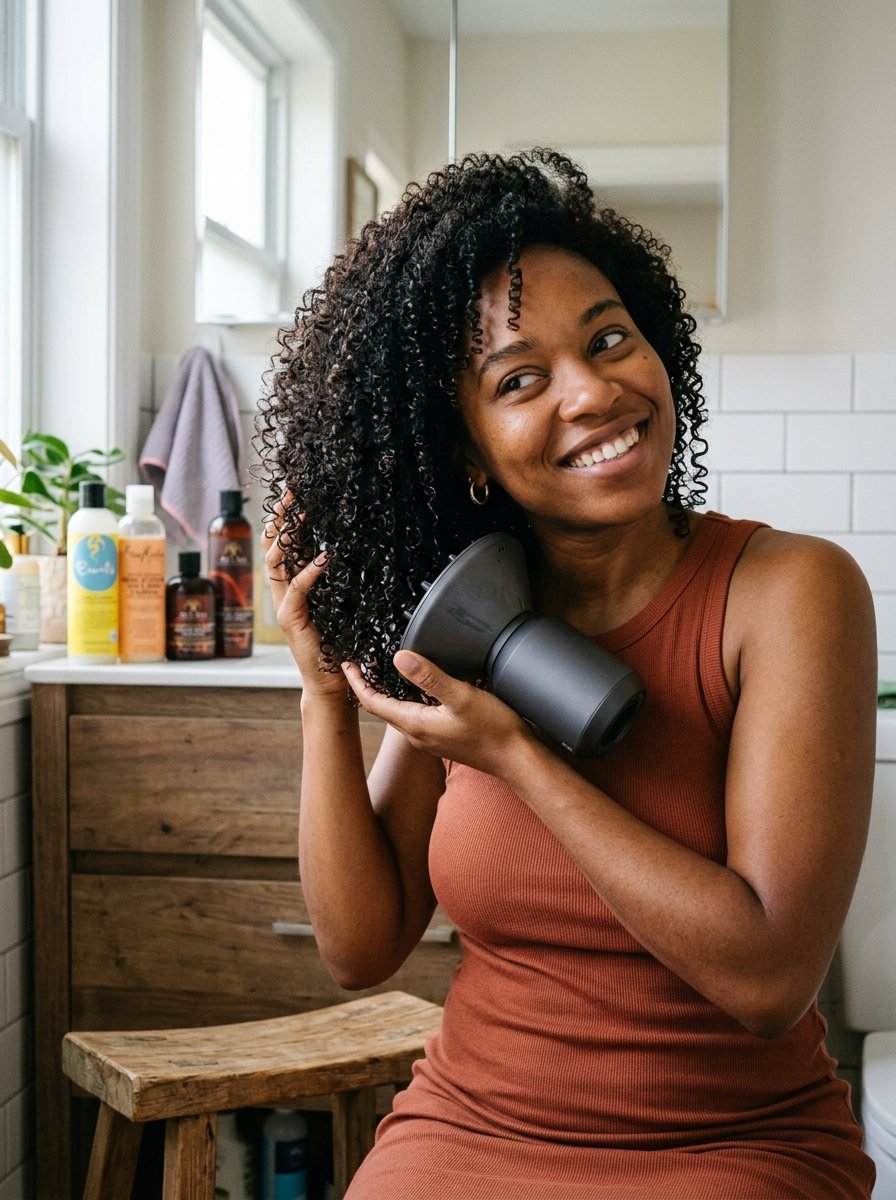
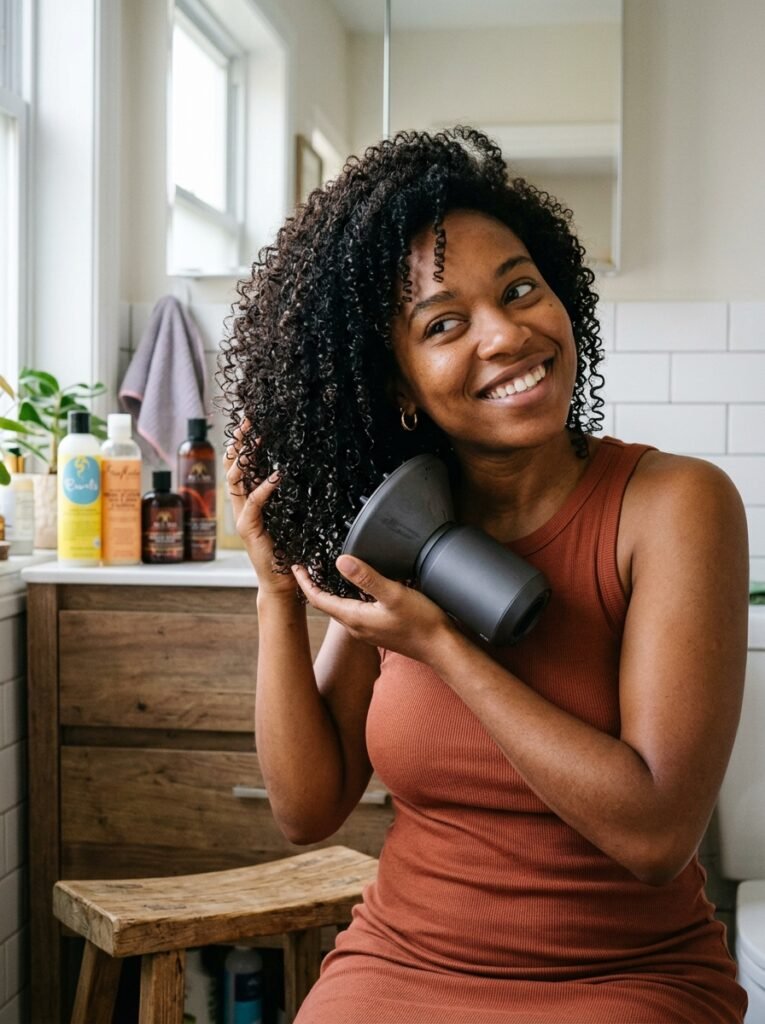
Now the hardest instruction in the entire routine. Stop touching your hair. Curls that dry undisturbed keep their definition, while curls that get fiddled with turn to frizz. Air drying works well if you have the time. If not, use a diffuser attachment on low heat and low speed, cupping sections up toward your scalp and holding still. Once your hair is completely, truly dry, break the gel cast by scrunching gently with a single drop of oil in your palms. The crunch releases, and soft, defined, touchable curls appear underneath. That moment is the whole reward.
Between Wash Days: Refreshing and Protecting Your Curls
A good curly hair routine is really a wash day plus a maintenance plan, and the maintenance is refreshingly easy.
Overnight protection comes first, because cotton pillowcases quietly steal moisture and friction ruins definition while you sleep. Swap to a silk or satin pillowcase, or wrap your hair in a satin bonnet. For length, gather your curls into a pineapple, which is a very loose, very high ponytail right on top of your head, secured with a soft scrunchie. Waves and looser curls often prefer a loose braid instead.
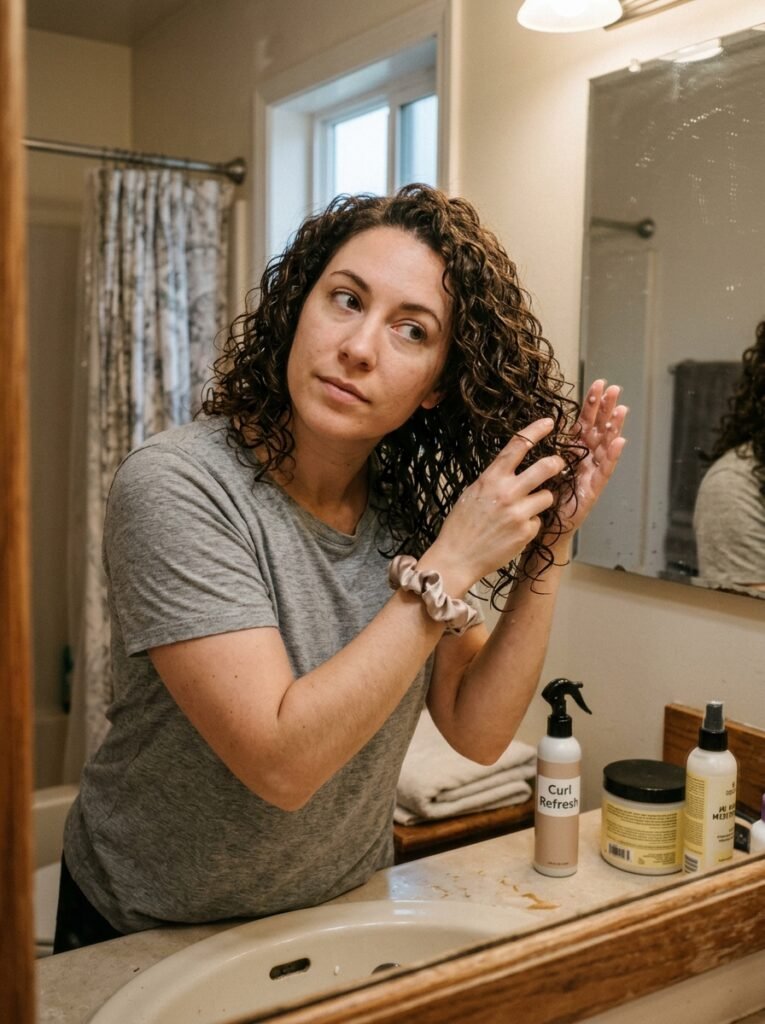
In the morning, refresh rather than restyle. Mist your curls with water, or water mixed with a little leave-in conditioner, then scrunch the pattern back to life. A few seconds under the diffuser sets everything if you are in a hurry. Flattened roots wake up when you shake them at the scalp or clip them upward for ten minutes while you get dressed.
Most beginners find their curls look good for two to four days between washes with this rhythm, and plenty discover that day two hair, a little softer and more relaxed, quietly becomes their favorite version.
One small note on weather. Humidity and dry seasons change how curls behave, so expect to nudge the routine as the climate shifts, reaching for a little more moisture in dry months and a touch more hold when the air turns humid.
Practical Tips for Your First Month
The first few weeks decide whether the routine sticks, so stack the odds in your favor.
- Start with four products only. A gentle shampoo, a rich conditioner, a leave-in or curl cream, and a gel cover everything a beginner needs.
- Change one thing at a time, whether product or technique, so you can tell what actually made the difference.
- Take a photo after every wash day. Progress is gradual, and the four-week comparison will genuinely surprise you.
- Add a deep conditioning treatment once a week, left on for fifteen to thirty minutes, to fast-track the moisture your curls have been missing.
- Expect an awkward transition. Curls recovering from years of heat and rough handling often spend a few weeks looking confused before they spring.
- Book a trim with a stylist who works with curly hair regularly, ideally one who cuts it dry, curl by curl.
Simple, consistent, patient. That is the entire formula.
Common Mistakes That Sabotage New Curly Routines
Almost every frustrated beginner is making one of these completely fixable errors.
Brushing dry curls tops the list. A brush through dry curly hair breaks up every clump and turns definition into a frizz cloud. Detangle wet, with conditioner, and put the brush away otherwise.
The terry towel turban is next. Regular towels are sandpaper for curls, roughing up the cuticle with every rub. A t-shirt or microfiber towel does the same job with none of the damage.
Styling damp instead of soaking wet quietly ruins results too. If your products are going onto half-dry hair, the definition was lost before you even started.
Product overload is the opposite trap. Layering six stylers creates buildup and a crunch that no amount of scrunching fixes. Water is unlimited. Products are not.
Judging too soon undoes more routines than any technique error. Curls need weeks of consistent moisture to show their real pattern, so give the routine a full month before declaring anything.
And keeping a daily heat habit while expecting curls to thrive is asking your hair to heal and take damage at the same time. Save the hot tools for special occasions and let the recovery actually happen.
What Curl Specialists Wish Every Beginner Knew
Stylists who work with curls all day repeat the same handful of truths.
Moisture solves most things. When curls misbehave, the answer is almost always more water, more conditioner, or better sealing, long before it is a new miracle product.
Your curls are not that influencer’s curls. Pattern, porosity, density, and even climate all differ, so treat online routines as inspiration rather than prescriptions.
The cut matters enormously. Curly hair cut with straight-hair techniques loses shape and gains bulk in strange places, while a curl-literate stylist shapes each spring exactly where it lives.
Consistency beats intensity. A simple routine done every wash day outperforms an elaborate one done occasionally.
And healthy curls are the goal, not identical curls. Every head holds several patterns at once, and that charming irregularity is part of what makes curly hair beautiful rather than a flaw to correct.
Frequently Asked Questions
What is a good curly hair routine for beginners?
Cleanse the scalp gently with a sulfate-free shampoo, condition generously and detangle while wet, then apply a leave-in and gel to soaking wet hair, scrunch, and diffuse or air dry without touching. That four-step wash day covers everything a beginner needs.
How often should you wash curly hair?
Most curly routines land between one and three washes per week. Wavier types usually need more frequent cleansing, tighter coils less, and your scalp is the referee. Wash when it feels oily or itchy rather than following a fixed schedule.
Should you brush curly hair?
Only when it is wet and coated in conditioner, working from the ends upward with fingers or a wide-tooth comb. Brushing dry curls breaks up the pattern and creates instant frizz, so between wash days, refresh with water and scrunching instead.
What products do I actually need to start a curly hair routine?
Four items cover the basics. A gentle sulfate-free shampoo, a rich conditioner, a leave-in conditioner or curl cream, and a gel for hold. Add a weekly deep conditioner once the routine feels comfortable, and resist buying more until then.
How long does it take for a curly hair routine to work?
Give it four to eight weeks of consistency. Curls recovering from heat styling and rough handling often pass through an awkward transition phase first, so take weekly photos and judge the trend rather than any single wash day.
Final Thoughts
Building a curly hair routine that actually works comes down to a short list of habits done consistently. Cleanse gently, condition generously, style on soaking wet hair, dry with patience, and protect everything while you sleep. That is the whole machine, and every advanced technique you meet later is just a refinement of it.
Start this week with the four basic products and the wash day sequence above. Take your photo, resist the urge to fiddle, and let the first month do its quiet work. Somewhere around week four, you will catch a curl in the mirror doing something it has never done before, springing, shining, behaving, and you will realize your hair was never the problem.
It was simply waiting, all these years, for a routine that finally spoke its language. Welcome to the curly side.