15 Stunning Hairstyles Every Woman Should Try This Year
Your hair is the one accessory you wear every single day. It deserves the same intention you give everything else.
Let’s be honest about something that most hair guides dance around without ever quite saying directly: the hairstyle you wear every day has an enormous effect on how you feel about yourself, how others perceive you, and how much confidence you carry into every room you enter. Hair is not a minor accessory or an afterthought to the rest of your appearance. It frames your face, defines your silhouette, and communicates something about your personality and your relationship with yourself before you have said a single word to anyone. When your hair looks genuinely good, not perfect, not labored-over, but right, you feel it immediately and completely.
The 15 hairstyles in this guide were chosen with one principle above all others: genuine versatility. Every style here works across a range of occasions, requires a realistic skill level, and delivers a quality of result worth the effort involved. Some of them are styles you can learn in a single morning with a YouTube video and the right tools. Some require a visit to a talented stylist who understands what you are trying to achieve. All of them have been selected because they represent the best of what hair can do when it is approached with intention, the best of effortless chic in the styling context, and the best of what makes a woman feel beautifully, powerfully, completely herself.
Whether you are looking to refresh an everyday style you have worn for too long, find a go-to updo for the weddings and events on your calendar this year, or make a genuinely transformative cut decision that changes how your hair looks and feels every single day, this guide has something specific and actionable for you. Each style includes a Stylist Tip drawn from professional experience that addresses the one detail most home stylists miss, because the gap between a good result and a great one is almost always a single piece of technical knowledge. Read every style, note which ones make you immediately imagine yourself wearing them, and then go make them happen.
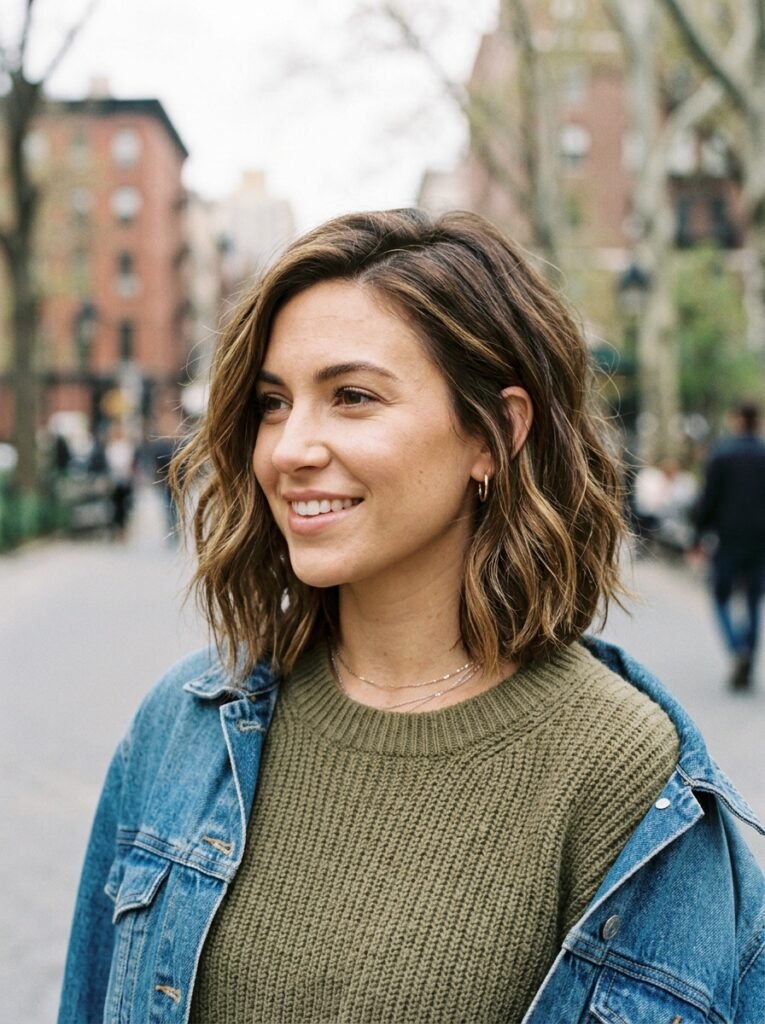
The Lived-In Blowout That Looks Expensive Without Trying
The lived-in blowout is the hairstyle equivalent of the perfect worn-in leather jacket: it looks like it happened effortlessly and yet it photographs like something a professional spent an hour creating. This is the style that women with genuinely great hair always seem to be wearing, and the reason it works so universally across hair types, lengths, and textures is that it requires no precision, punishes no imperfection, and actually improves with a day of natural movement after it is first styled. The technique begins with a heat protectant applied to damp hair, followed by rough-drying with a medium-barrel round brush to create directional movement rather than a structured curl. The key difference between a lived-in blowout and a formal blowout is in the finishing: where a traditional blowout ends with every strand smooth and perfectly aligned, the lived-in version is finished by breaking the style apart slightly with your fingers, scrunching the ends gently for a softness that reads as natural rather than styled. A light hold spray misted from a distance of 12 inches sets the movement without stiffening it. The result is a glossy, full, slightly undone style with soft movement around the face and a body and shine that makes any outfit look more put-together. It is the hairstyle that earns the most comments about looking well-rested, healthy, and effortlessly polished, which is exactly what great hair should do.
Stylist Tip Use a round brush on the last two inches of each section for a softly curved end that catches light beautifully.
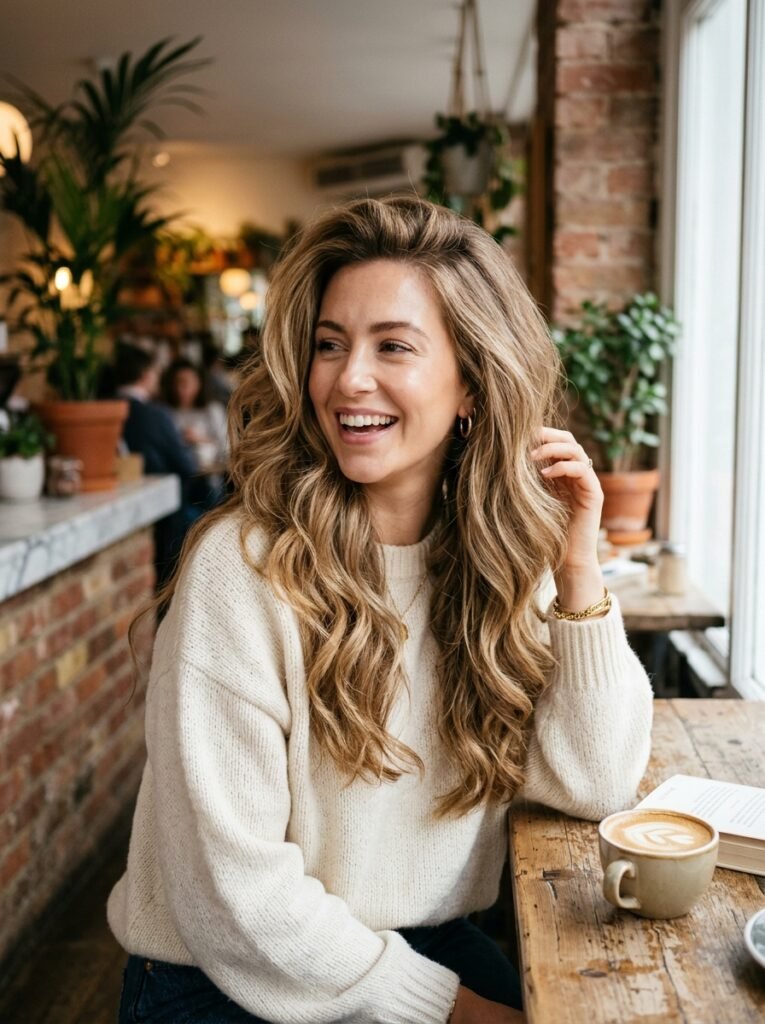
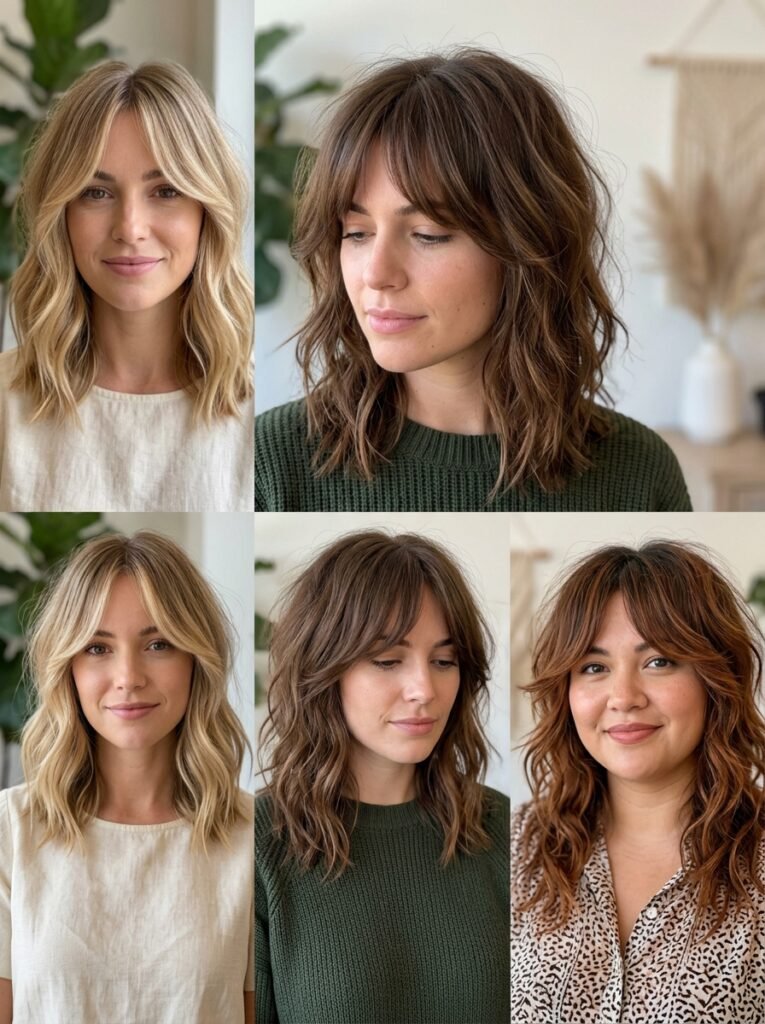
Curtain Bangs That Frame Every Face Shape With Effortless Softness
Curtain bangs have earned their place as one of the most universally flattering and most enduringly popular hairstyle additions of the current era, and the reason they continue to dominate hair Pinterest boards year after year is not trend momentum but genuine versatility and face-flattering geometry. A curtain bang is parted at the center or slightly off-center and swept to each side of the face in a soft, feathered motion that mimics the opening of a curtain, framing the eyes and cheekbones with a delicate, face-softening frame that works with rather than against the natural proportions of virtually every face shape. Unlike a blunt fringe that sits across the forehead as a statement, curtain bangs blend seamlessly into the rest of the hair when grown out, making them one of the most commitment-friendly bang options available. They soften a strong jawline, add cheekbone definition to a rounder face, and break the length of a long face with a gentle horizontal element that flatters without shortening. The styling that keeps curtain bangs looking their best is minimal: a light application of a smoothing cream while damp, a quick pass with a round brush on each side directing the hair outward, and a light hold spray to set the sweep. On second and third day hair, a small amount of dry shampoo at the roots and a finger-comb through the bang is all the maintenance they require, making them one of the most genuinely manageable fringe options for real daily life.
Stylist Tip Blow-dry curtain bangs by directing a round brush outward and away from the face on each side simultaneously for a perfect symmetrical sweep.
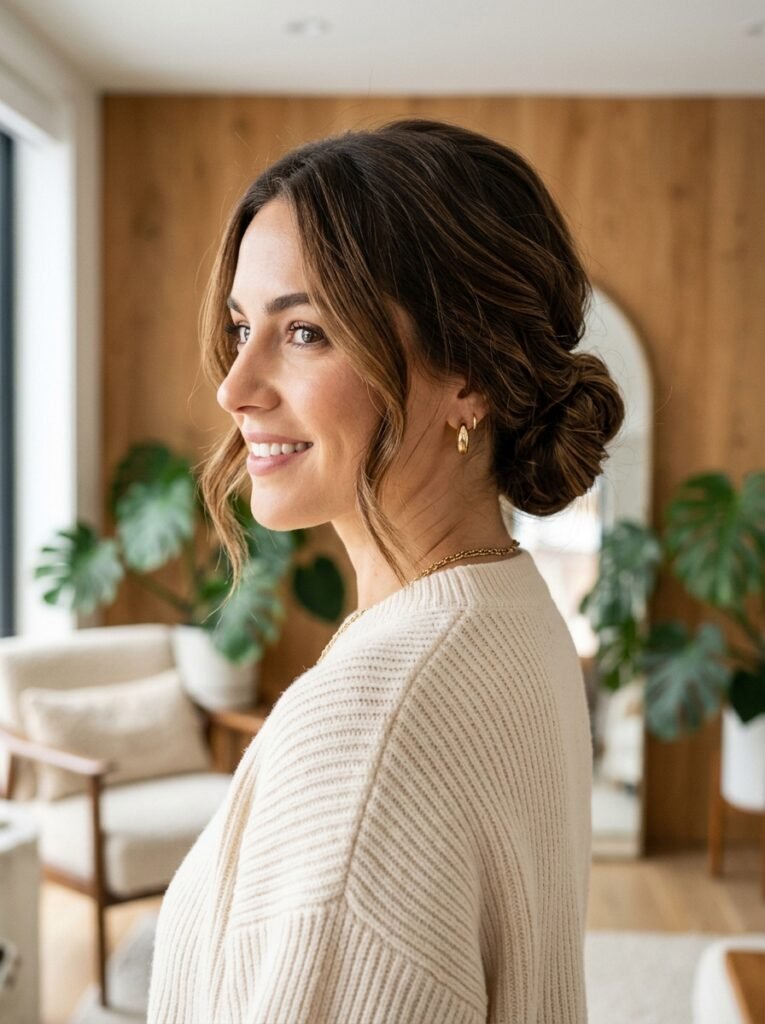
The Effortless Low Bun That Looks More Polished Than It Has Any Right To
There is a version of the low bun that every woman has in her styling vocabulary, the practical, slightly rushed gathering of hair at the nape of the neck that happens on a busy morning and is held in place by a hair tie and a hope. And then there is the intentional low bun, the one worn with the same ease but created with just enough additional care that it reads as genuinely polished, appropriately elegant, and Pinterest-worthy rather than simply functional. The difference between the two is almost entirely in the details of execution and takes approximately three additional minutes. Begin by applying a smoothing serum or cream to dry hair and either leaving it naturally smooth or giving it a very light wave with a large-barrel curling iron. Gather the hair at the nape of the neck, lower than feels natural, and twist it loosely into a soft bun rather than wrapping tightly. The looseness is critical: a tight, high-wound bun reads as severe and effortful, while a soft, slightly imperfect low gathering reads as chic and relaxed. Secure with a hair tie, then wrap a small section of hair around the base to conceal the elastic and pin it. Gently loosen the bun from the outside with fingertips, pulling it slightly wider and flatter. Pull two or three tendrils at the temples and nape. Finish with a light-hold spray. This bun works with a blazer, a sundress, a wedding guest outfit, and office attire with equal elegance.
Stylist Tip Pull a few face-framing pieces out before setting the bun and curl them loosely with a wand for a romantic finish that transforms the entire look.
Beachy Waves That Look Like You Just Stepped Off a Yacht
Beachy waves occupy a very specific and very coveted position in the hairstyle canon: they look completely natural, completely effortless, and completely beautiful in a way that implies you have spent the morning near the ocean rather than standing in a bathroom with a curling iron. Achieving them well is a skill that once learned becomes the most-used styling technique in most women’s repertoire, because the relaxed glamour they create is appropriate for almost every occasion that falls below formally black-tie. The technique that produces the most authentic-looking beachy waves begins with a salt or texture spray applied to almost-dry hair, scrunched in gently and left to air dry for ten minutes before any heat is applied. This creates a natural base texture that helps waves hold without feeling stiff. Then, using a one-inch wand with no clip, take sections of hair and wrap them around the barrel, alternating the direction of each section, some curled toward the face, some away, for that organic randomness that distinguishes natural waves from a formal curl set. Hold for eight seconds and release without touching. Work through the entire head and allow to cool completely before separating. Separate by running fingers through and gently pulling each wave apart, then mist with a light, flexible hold spray. The salt spray base, the alternating direction curl, the allowed cooling time, and the finger-separation finish are the four elements that combine to create waves that photograph as naturally sun-kissed and genuinely beautiful.
Stylist Tip Leave the last inch of your ends uncurled for that perfectly undone salt-spray finish that separates beachy waves from formal curls.
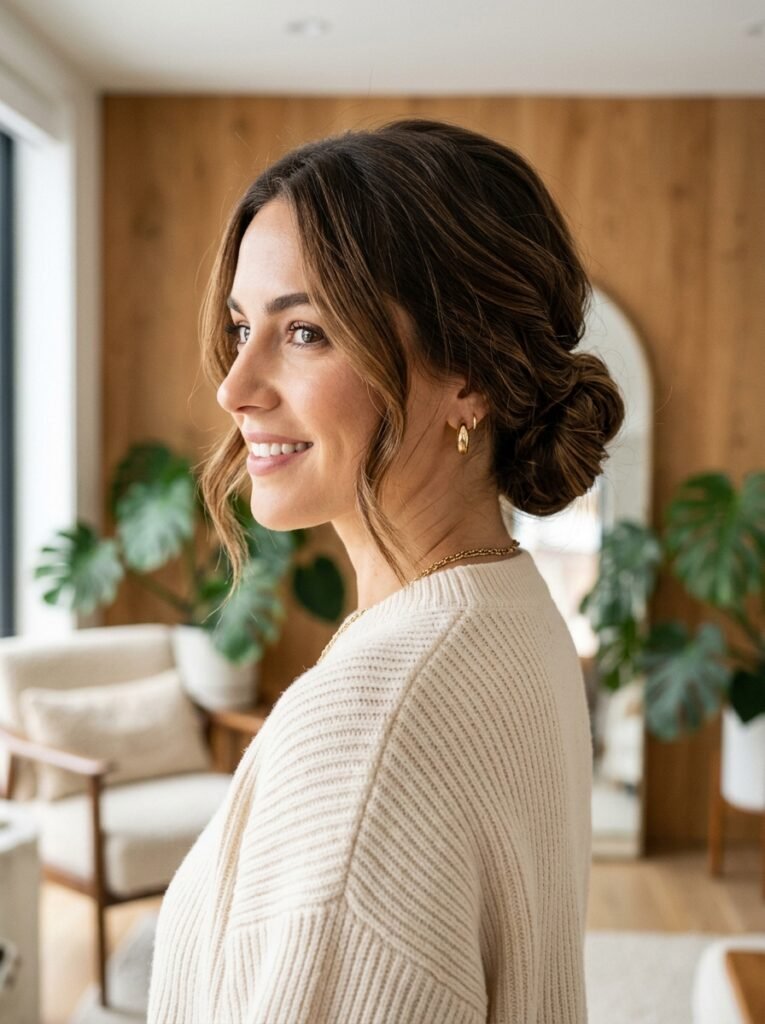
The Sleek High Ponytail That Is the Ultimate Instant Confidence Boost
There is something about a perfectly executed high ponytail that has a quality of instant transformation unlike any other hairstyle in existence. It lifts the face, elongates the neck, sharpens the jawline, and projects an energy of confident, pulled-together elegance that is simultaneously athletic and glamorous, practical and beautiful. The high ponytail done well is a power hairstyle in the truest sense, and the difference between a great high ponytail and a mediocre one comes down to three specific elements: the positioning, the smoothness of the hair feeding into the base, and the way the elastic is concealed. Position matters enormously. A high ponytail placed at the very crown of the head, rather than at the back of the crown where it naturally wants to sit, creates that coveted lifted, face-framing quality. To achieve this, tilt your chin down slightly while gathering the hair so that when you straighten up, the ponytail sits at the highest possible point. Smooth any bumps or flyaways with a fine-tooth comb and a very small amount of gel or pomade at the roots. Secure with a sturdy elastic, then wrap a small section of hair around the base and pin it underneath to conceal the elastic entirely. A light mist of shine spray over the length of the ponytail creates a sleek, glossy finish that catches light beautifully. For volume, gently tug the hair at the crown before spraying to secure.
Stylist Tip Brush your hair upward and forward slightly before gathering it to position the ponytail at its highest point, which lifts the face and elongates the neck beautifully.
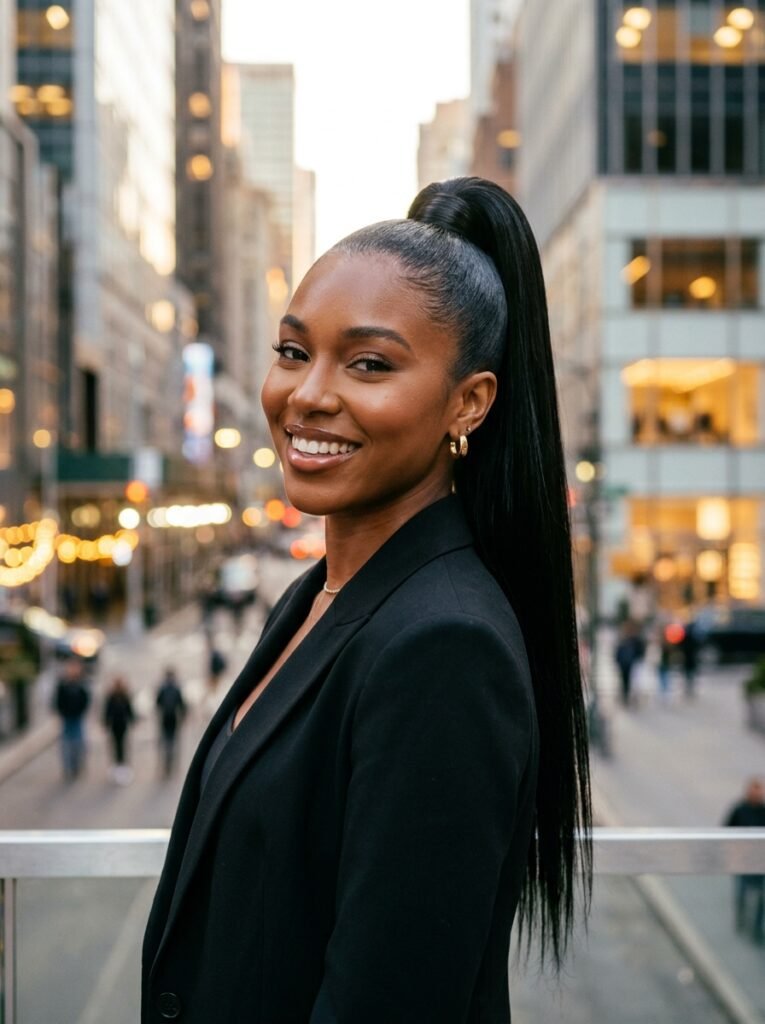
The French Tuck Updo: A Twist on the Classic That Feels Completely Fresh
The French twist has existed in the hairstyling vocabulary long enough to feel both timeless and slightly vintage, and in 2026 the version that is generating the most excitement is a softer, more contemporary interpretation that retains the elegant vertical line of the classic twist while introducing a relaxed, slightly undone quality that makes it feel genuinely wearable rather than ceremonially formal. To create the updated French twist, begin with hair that has been lightly misted with a flexible hold spray for grip. Gather all the hair into a loose ponytail at the back of the head, then begin to roll it upward, simultaneously twisting the gathered section inward toward the scalp as you work upward. When the twist reaches the crown, tuck the ends under and into the twist itself, securing with bobby pins inserted vertically into the fold. The modern version deliberately leaves a small amount of looseness at the sides and allows a few face-framing pieces to fall forward at the temples rather than being pulled back severely. This intentional softness transforms the French twist from a style that looks like it requires a professional to create into one that reads as confident and personal. A pearl or tortoiseshell hair comb inserted into the top of the twist adds an accessory moment that elevates the style into occasion territory without requiring any additional effort or structural change to the underlying technique.
Stylist Tip Mist the finished style with a fine-hold spray and use a fine-tooth comb to smooth any bumps on the crown before inserting your final pin for a sleeker finish.
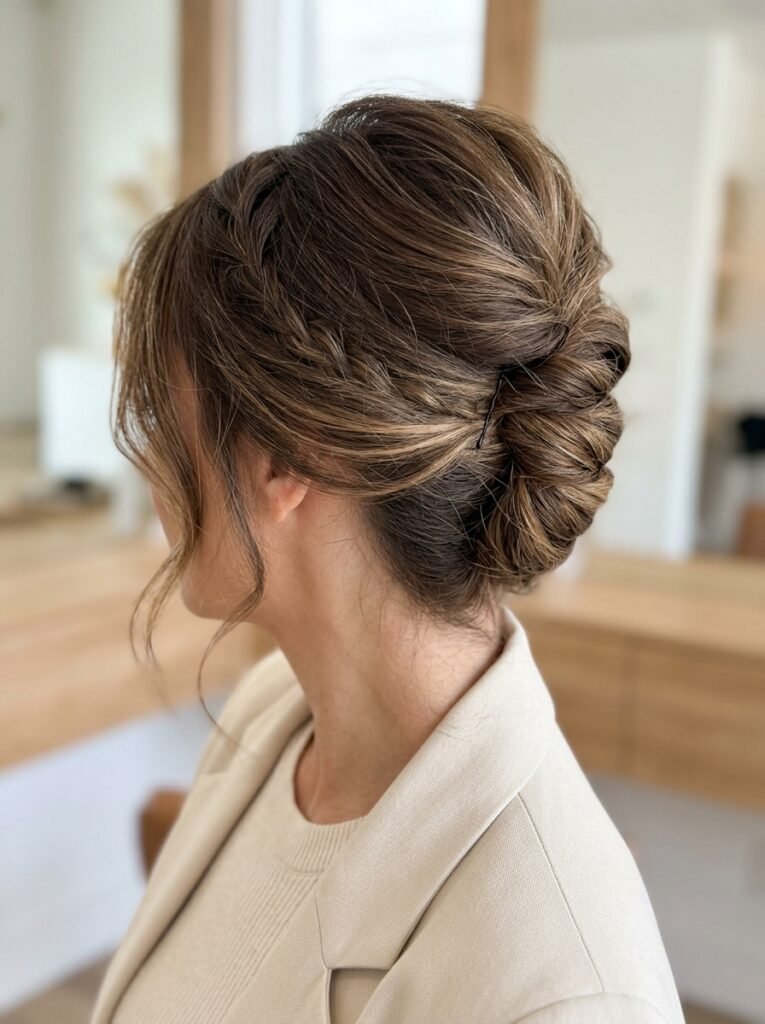
Soft Bouncy Curls That Last All Day and Photograph from Every Angle
Soft, bouncy curls in a romantic, voluminous arrangement occupy a permanent position in the hairstyle canon for very good reason: they are consistently the most photographed, most requested, and most universally flattering style category across every age, every face shape, and virtually every hair texture when executed with the right technique. The key distinction between a beautiful soft curl set and the stiff, over-hairsprayed, old-fashioned formal curl is in the technique and products used. Begin with clean hair that has been blow-dried smooth, applying a heat protectant and a small amount of mousse or foam to damp hair before drying to build in the hold that curls need to last. Section the hair and use a one-inch to one-and-a-quarter-inch curling iron, wrapping each section around the barrel in the same direction for a more polished finish or alternating directions for a more natural result. The critical step that most home stylists skip is the cooling step: release each curl from the iron and immediately hold it gently in the palm of your hand for 15 to 20 seconds while it cools and sets in its coiled form. Only release when you can feel that the curl has cooled to room temperature. This step, more than any other single technique element, determines how long the curls will last through the day or evening. Finish by running fingers gently through the set curls to soften them into loose, natural waves and mist with a flexible hold spray.
Stylist Tip Allow each curl to cool completely in your palm before releasing it. This one step doubles the longevity of any curl set on straight or fine hair.
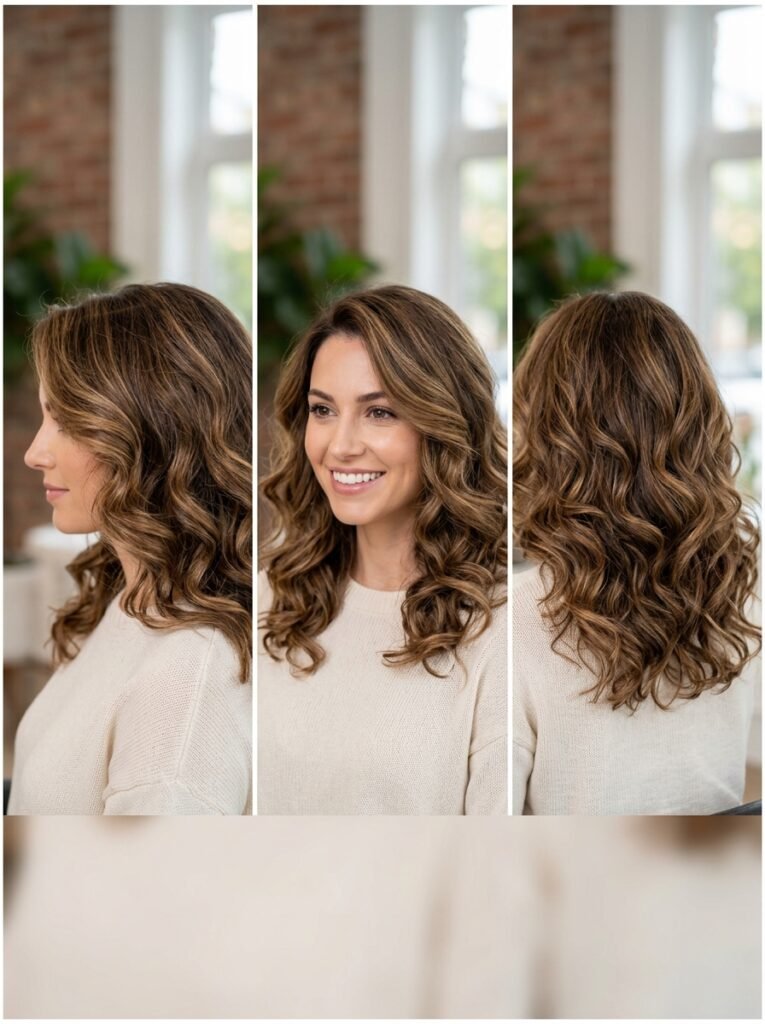
The Invisible Part and Center-Parted Straight Blowout for Effortless Sophistication
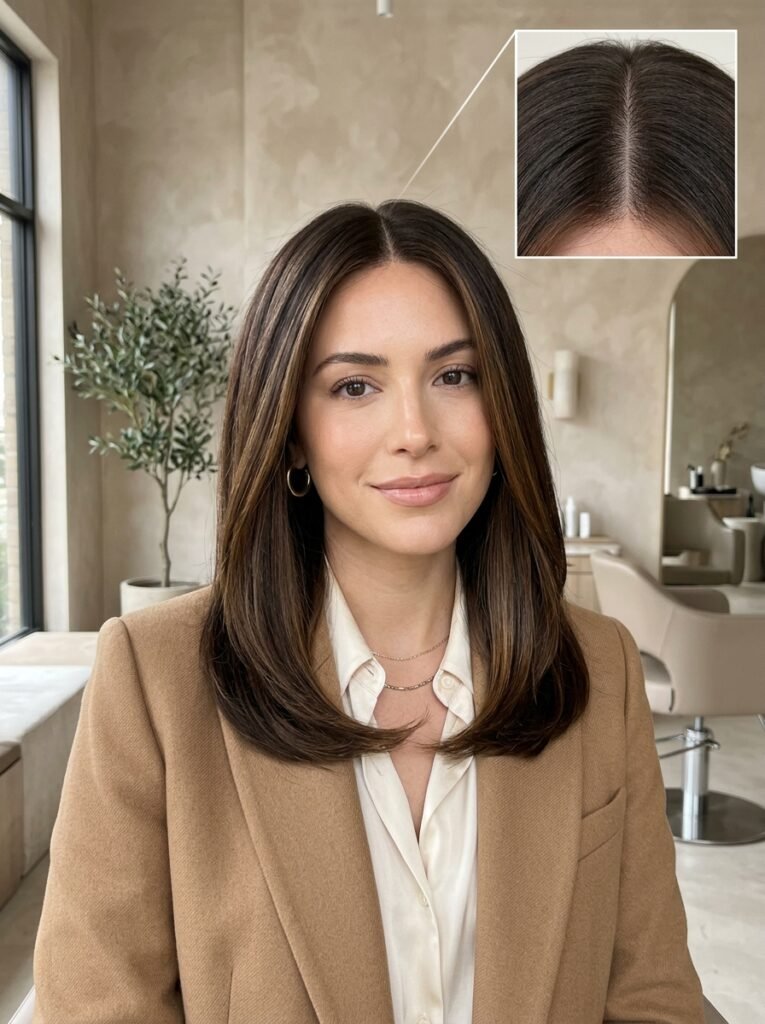
The center-parted straight blowout with mirror-smooth, light-reflecting hair falling in a clean, glossy curtain on each side of the face is one of those hairstyles that exists outside any particular trend cycle, arriving and re-arriving in fashion every few years because its geometry is simply, fundamentally flattering to an extraordinary range of face shapes and its visual simplicity communicates a confidence and refinement that more elaborate styles sometimes obscure. It is the hairstyle that makes a woman look like she has slept eight hours, eaten well, and is entirely comfortable in her own skin. Achieving a genuinely beautiful straight blowout requires attention to three things above all others: a precise part that sits exactly where it serves the face best, a smooth finish free of any bends or kinks from the blow-dry process, and a glossy shine that reflects light cleanly rather than absorbing it. Begin with a smoothing shampoo and conditioner, then apply a heat protectant and a small amount of blow-dry oil to damp hair. Rough-dry to 80 percent, then section and blow-dry with a medium paddle brush using a tension technique, keeping the brush taut against the hair shaft and directing downward along the cuticle to seal it for maximum shine. Finish with a fine mist of shine serum or a light spritz of gloss spray from a distance to add luminosity without weight. The result is a style that looks professionally achieved regardless of the outfit worn beneath it.
Stylist Tip Use the pointed end of a rat-tail comb dipped in a tiny amount of edge-control cream to create a razor-sharp center part that stays perfect all day.
The Half-Up Twisted Crown for the Woman Who Wants Beauty Without the Effort
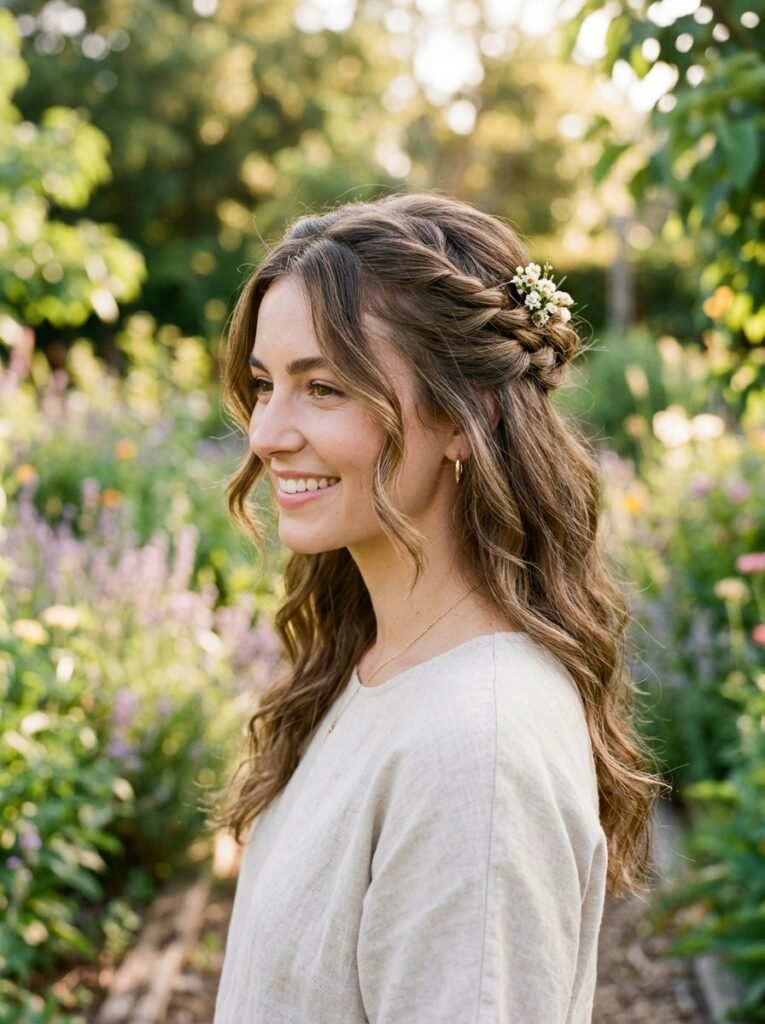
The half-up half-down hairstyle has been a reliable presence in every woman’s styling vocabulary for generations, but the specific interpretation that has been generating the most genuine excitement and the most Pinterest saves in recent years is the half-up twisted crown, a technique that takes the classic top section pull-back and elevates it with a simple rope or flat twist that adds structure, texture, and a touch of romantic artisanship to what is otherwise one of the most effortless styles in existence. The method is straightforward enough to be executed in under five minutes once the technique is familiar. Take the top third of the hair from temple to temple and divide it into two sections. Twist each section individually in the same direction, then twist the two sections around each other in the opposite direction as you bring them toward the center back of the head, creating a rope-like structure that moves horizontally across the crown. Pin at the center back and allow the remaining hair to fall naturally below. The genius of this style is in how much it adds to the visual interest of an otherwise simple down style: the twisted crown creates a defined, decorative element at eye level that photographs beautifully and reads as genuinely styled without adding complexity, heat, or significant time. On second-day hair it is even more effective because the natural texture adds grip and volume to the twist that freshly washed hair sometimes lacks.
Stylist Tip Loosen the twist slightly after pinning by gently pulling the edges apart with fingertips for a fuller, more romantic finish that photographs beautifully from every angle.
The Modern Shag Haircut: Textured, Lived-In and Endlessly Flattering
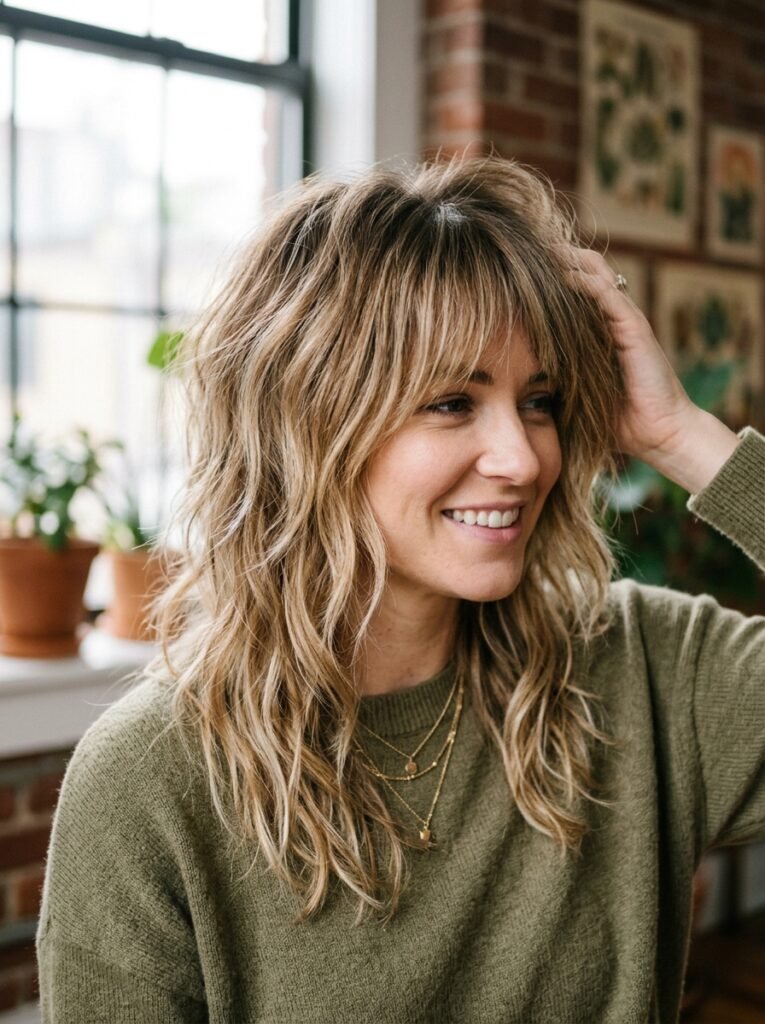
The shag haircut has completed one of the most remarkable rehabilitation arcs in hairstyling history, crossing from its 1970s rock-and-roll origins through a long period of relative unfashionability into its current status as one of the most sought-after, most photographed, and most universally flattering haircuts available to women with virtually any hair type, length preference, or lifestyle. The modern shag is defined by its layering, its texture, and its attitude: it is a cut that creates movement and dimension rather than weight and structure, that looks better with a day of natural movement in it than immediately after the salon blow-dry, and that works equally well with straight hair, wavy hair, and naturally textured hair because it is built around embracing rather than fighting each individual hair’s natural tendency. The architecture of a modern shag includes shorter face-framing layers that create a soft frame around the face at cheekbone to chin level, mid-length layers throughout the body of the cut that add movement and remove bulk, and textured ends achieved through point-cutting or razor-cutting that prevent the weight line from looking blunt or heavy. The result is a haircut that looks expensive, that grows out beautifully rather than becoming shapeless, and that requires less daily styling effort than almost any other layered cut because its built-in texture and movement do the visual work independently of the styling process.
Stylist Tip Ask your stylist specifically for face-framing layers that start at cheekbone level. This specific placement of the shortest layer defines the modern shag and flatters virtually every face shape.
Braided Crown Updo That Looks Intricate But Takes Under 15 Minutes
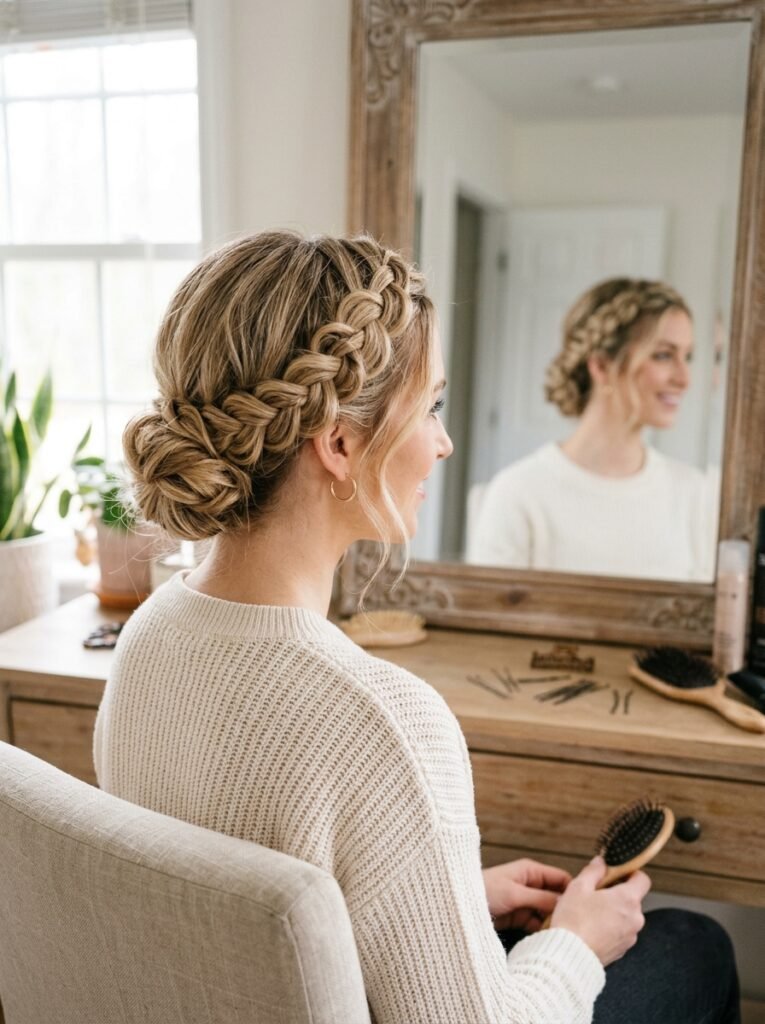
The braided crown, in which two braids are created at the sides or back of the head and then pinned across the crown to create a headband-like effect, is one of those hairstyles that occupies the most enviable position in the styling spectrum: it looks as though it required professional expertise and an hour of skilled labor, and yet with a small amount of practice it is entirely achievable at home in well under fifteen minutes and holds its shape through a full day of activity with minimal maintenance. Begin by parting the hair down the center and creating two sections. On one side, take a section from the hairline at the temple and create a simple three-strand braid, braiding from the temple toward the back of the head. Secure with a small clear elastic. Repeat on the other side. Then cross the two braids over the top of the head in opposite directions, pinning each one securely at the opposite side using bobby pins that match the hair color. Tuck any visible elastic ends under the braids and pin them. The variations available within this basic architecture are extensive: the braids can be styled as tight, smooth French braids for a more polished finish, or as loose, chunky plaits that are then gently pulled apart for a more voluminous, bohemian character. Flowers, small pearl pins, or a single decorative comb inserted into the crown elevate the style from everyday to genuinely occasion-worthy with no structural change to the underlying technique.
Stylist Tip Braid slightly looser than feels natural, then gently tug the edges of each braid section outward after completing the full crown for a fuller, more romantic silhouette.
The Textured Bob: Short, Sharp and Unapologetically Chic
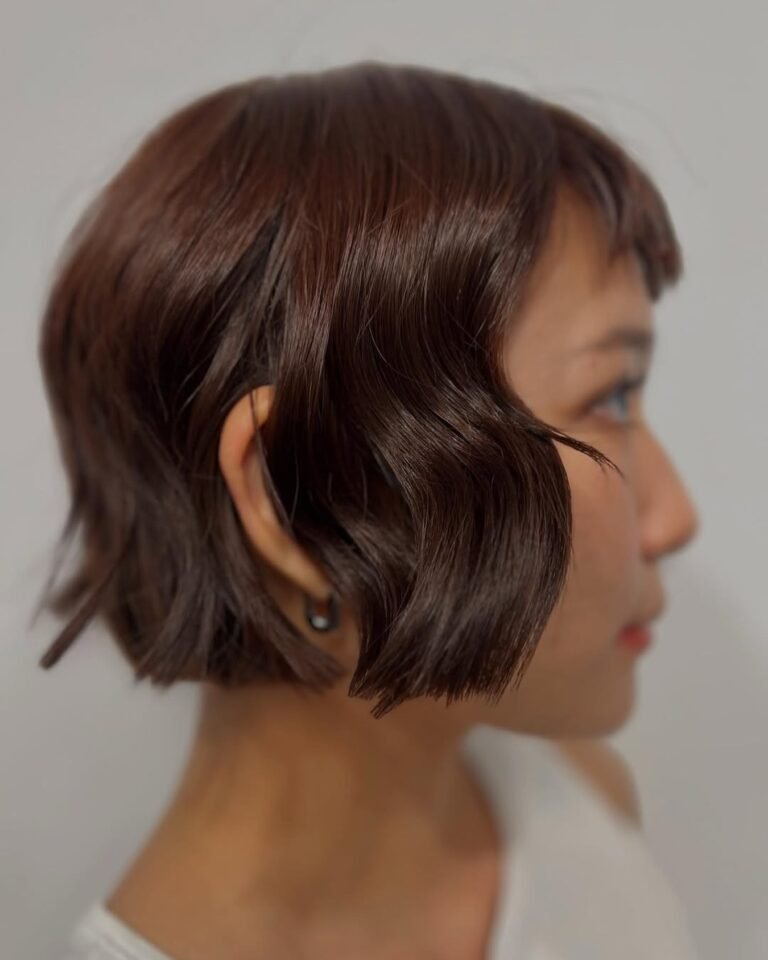
There is a particular kind of self-possession that a great bob communicates, a willingness to let the face and the bone structure and the personality speak without the softening, the framing, and the safe conventional femininity of longer hair, and in 2026 the bob is having a moment of genuine creative reinvention that makes it one of the most exciting haircuts available at any length. The version generating the most enthusiasm is the textured bob: a cut that retains the clean, strong architectural line of the classic bob but introduces internal texture, a softly disconnected interior, and deliberately imperfect, piece-y ends that give the style a modern, editorial edge that the blunt-edged traditional bob cannot achieve. This is a bob with character. The styling options within a textured bob are remarkably varied. Worn smooth and straight with a side part and a light shine spray, it reads as sophisticated and polished. Worked with a small amount of texture paste through the ends and air-dried with a tousle, it reads as creative and effortlessly cool. Curled with a large barrel iron in loose S-bends, it becomes romantic and soft despite its sharp structural foundation. The versatility of the textured bob, combined with the practical reality that shorter hair is simply faster to style and easier to maintain, makes it one of the highest-value haircut investments any woman can make this year, delivering a consistent quality of looking genuinely well-groomed and intentionally stylish with a fraction of the daily effort required by longer styles.
Stylist Tip Ask for a disconnected bob with the interior cut shorter than the exterior for a natural stacking effect that holds its shape without daily styling effort.
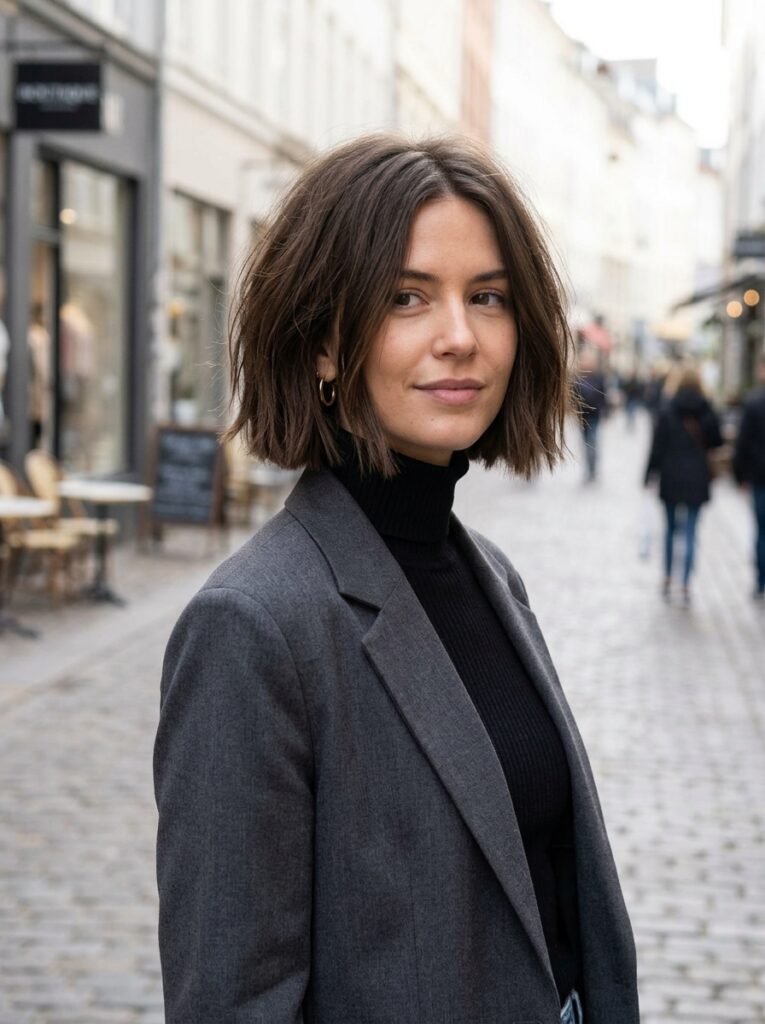
Sleek Slicked-Back Hair That Is the Chicest Thing You Can Do in Under 60 Seconds
The slicked-back hairstyle is the fashion world’s most reliable answer to the question of what to do with hair when the outfit is the star and the hair needs to be architecturally beautiful without competing for attention, and in 2026 it has crossed from the runway and the red carpet into everyday editorial dressing with a confidence that makes it one of the most exciting styling directions of the year. The genius of slicked-back hair is precisely its commitment to simplicity: it takes all of the hair’s surface complexity, all the texture and movement and softness, and reduces it to a single clean, geometric plane that sits against the head and exposes the face with a directness that is simultaneously bold and quietly elegant. The technique for achieving a beautiful slicked-back style at home requires only two products and one tool: a medium-hold gel, a fine-tooth comb, and a patience to work in sections from the front hairline backward. Apply gel generously to damp or dry hair, then use the comb to direct all the hair straight back from the hairline, smoothing any waves or texture as you work toward the nape. At the nape, either gather the hair into a low sleek ponytail or twist it into a small smooth bun and secure. Allow to dry naturally or accelerate with a cool shot from a hairdryer held at a distance. The face and the jawline and the neck are entirely exposed in this style, which is precisely its power: it is a hairstyle that says the face alone is enough, and that quiet confidence is one of the most beautiful things any hairstyle can communicate.
Stylist Tip Apply gel to damp hair rather than dry for a more even distribution and a cleaner, less crunchy finish. Mist with shine spray over the dry set for a lacquered editorial result.
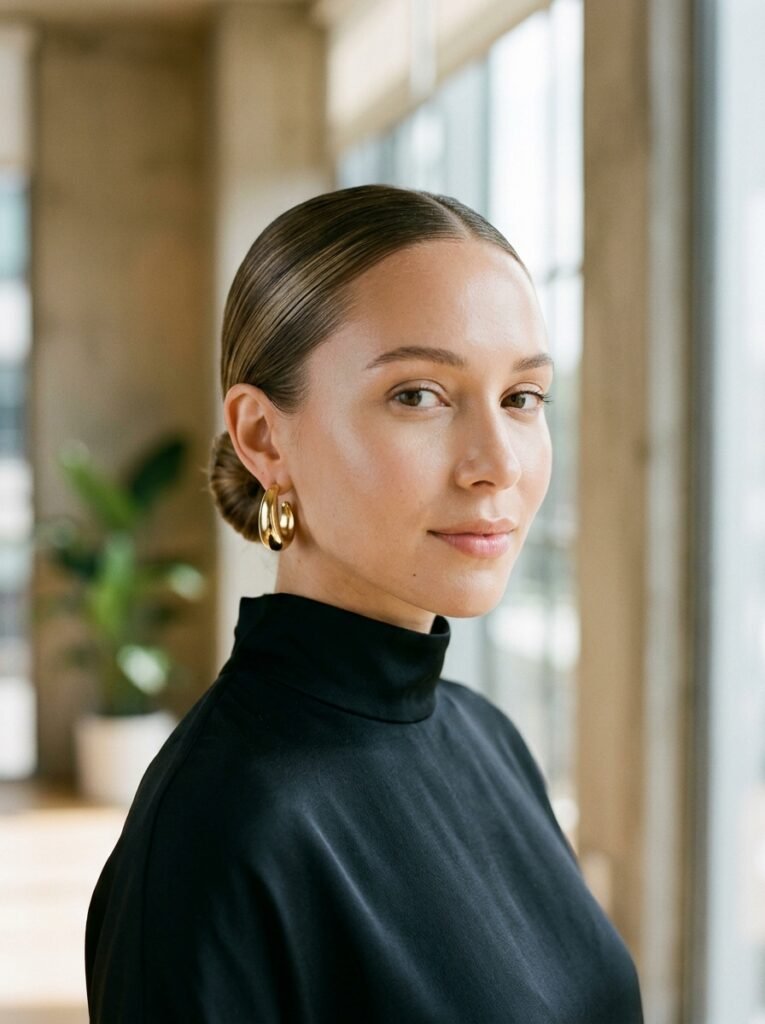
Loose Romantic Waves with a Deep Side Part for Old-Hollywood Glamour
Old-Hollywood glamour is one of those aesthetic categories that never completely leaves the hairstyling conversation because the women who defined it, with their glossy, deep-waved, architecturally perfect hair and their expressions of complete and unhurried elegance, created a visual standard of feminine beauty that retains its power across every decade and every era since. The contemporary version of old-Hollywood waves is not a period recreation but an update: the same deep, lustrous waves and the same dramatic side part, but softer at the ends, less severely set throughout, and finished with the kind of glossy, moving quality that reads as sensuous and alive rather than styled and static. Begin by applying a volumizing mousse and heat protectant to damp hair, then blow-dry straight before sectioning for the wave setting. A one-and-a-half-inch barrel curling iron, used to create large, slow, languorous waves rather than tight curls, produces the loose S-curve that is the signature of this style. Direct all curls in the same direction for a more classic, directional wave pattern, or alternate for a more modern result. After the full set has cooled completely, brush through gently with a natural bristle brush to blend the individual curls into a continuous wave, then apply a deep side part with a fine-tooth comb and allow the front wave to sweep across the forehead dramatically. A drop of shine oil worked through the mid-lengths and ends creates the liquid, light-catching quality that makes this style genuinely breathtaking.
Stylist Tip For maximum old-Hollywood impact, set your waves with pin curls while warm and allow them to cool completely before releasing. The definition and longevity this technique produces is unmatched by any other method.
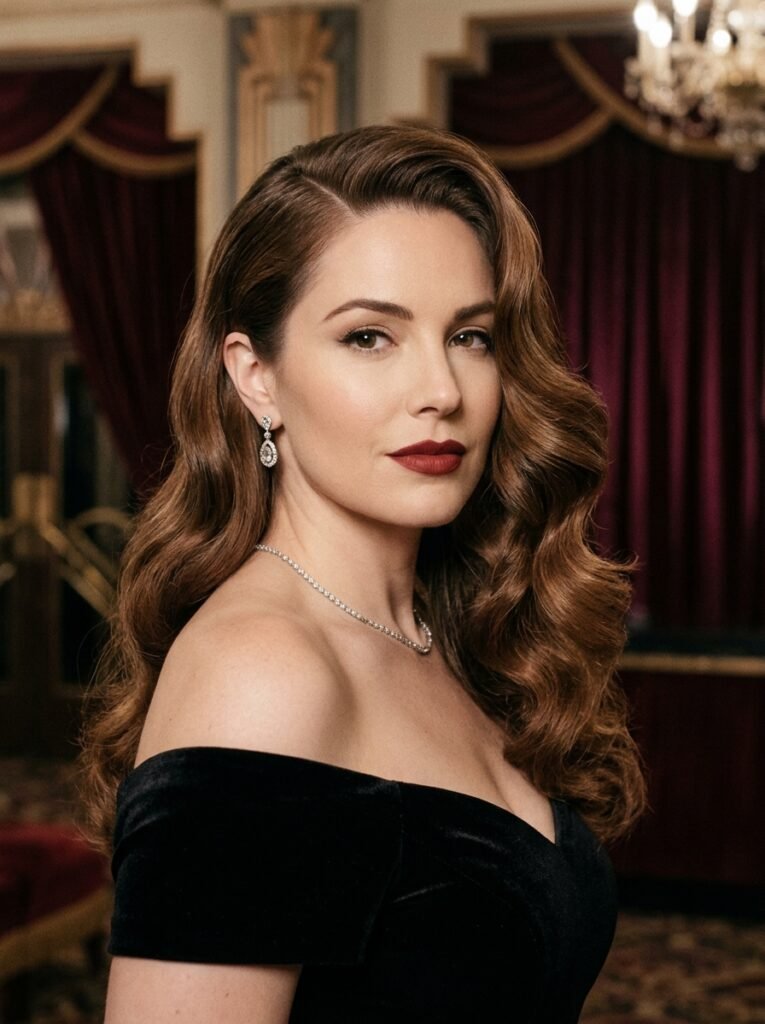
The Effortless Top Knot That Goes From Morning Coffee to Evening Plans Without Missing a Beat
The top knot holds an almost unique position in the hairstyling vocabulary as the style that is simultaneously the most casual and the most adaptable, the one that women reach for on their most relaxed days and that, with the addition of the right accessories and the right finishing details, can be worn with confidence to a gallery opening, a dinner party, or a casual Friday at the office without any structural adjustment to the style itself. The difference between a top knot that looks thrown together in a hurry and one that looks genuinely intentional lies entirely in the details of how it is constructed and finished. Begin by gathering all the hair into a high ponytail positioned at the very crown of the head. If the hair has any texture or natural wave, working with second-day hair or applying a small amount of dry shampoo to clean hair creates the grip and volume that makes a top knot look its best. Twist the ponytail around its own base, looping it into a circular bun and securing with bobby pins rather than an additional elastic, which tends to flatten and restrict the bun’s natural fullness. Then, using fingertips only, gently expand the bun outward, pulling it slightly in all directions until it reaches a size that looks proportionally generous relative to the head. A few deliberately released face-framing pieces at the temples and nape transform the style from utilitarian to intentional. A satin scrunchie, a claw clip, or a pair of crossed hair pins at the base of the bun are the accessory additions that take a simple top knot to genuinely stylish territory.
Stylist Tip For a fuller, more intentional top knot, backcomb the gathered ponytail section lightly before twisting it into the bun. This adds volume and prevents the knot from looking flat or deflated after a few hours of wear.
Final Thoughts
Great hair is not about perfection. It is about choosing with intention and wearing it with confidence.
After exploring all 15 of these hairstyles, the most important thing to carry forward is not a checklist of styles to try in sequence but a shift in how you think about your hair on a daily basis. The women who consistently look like their hair is a deliberate, beautiful part of their overall appearance are not the ones spending the most time or the most money on it. They are the ones who have found two or three styles that genuinely suit them, that they have learned to execute reliably, and that they wear with the kind of settled confidence that makes even the simplest hairstyle look exceptional.
The best hairstyle you can wear is always the one that makes you feel most like yourself. Sometimes that is a sleek high ponytail that says you are sharp, efficient, and completely in control. Sometimes it is loose beachy waves that say you are relaxed, easy, and happy. Sometimes it is a French twist at a wedding that says you came to celebrate and you dressed accordingly. The versatility of having several reliable styles you genuinely love and can execute without stress is one of the most underrated forms of personal confidence available, and every style in this guide is an investment in exactly that.
Find the two or three looks here that resonated most immediately with your face, your hair type, and the life you actually live. Practice them until they feel natural. Share them with the women in your life who have been looking for exactly this kind of honest, specific, genuinely useful hair guidance. And then enjoy the daily pleasure of knowing, every time you walk out the door, that your hair is exactly where you want it to be.
Save this guide, share it with your most hair-curious friends, and pin your favourite styles to your beauty board. Your best hair year starts right now.